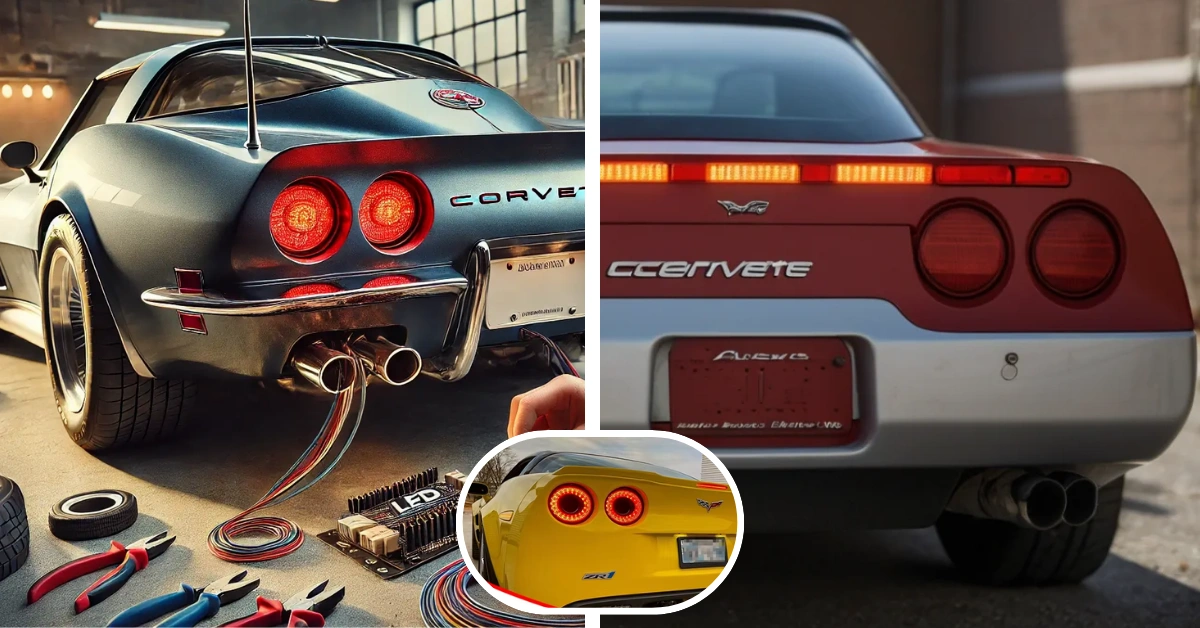
Introduction to the 1992 Corvette and its Tail Lights
The 1992 Corvette Remover Tail Lights for LED Load Resistor is an essential upgrade for any Corvette enthusiast looking to enhance both aesthetics and functionality. The 1992 Corvette is a classic marvel, revered by car enthusiasts and collectors alike. Its sleek design and powerful performance make it a standout on the road. However, as with any vehicle, certain components may need an upgrade over time. One area often overlooked is the tail lights.
Upgrading your 1992 Corvette Remover Tail Lights for LED Load Resistor not only improves visibility but also adds a modern touch to this iconic car. Say goodbye to outdated incandescent bulbs that can dull its shine! Switching to LED load resistor tail lights offers numerous benefits—from efficiency to longevity—making it a wise choice for any proud Corvette owner looking to elevate their ride. If you’re ready to transform your braking experience while keeping that classic vibe alive, keep reading for our step-by-step guide on how to install these innovative lights!
The Benefits of Upgrading to LED Load Resistor Tail Lights
Upgrading to LED load resistor tail lights brings a range of exciting advantages. First, they provide brighter illumination compared to traditional bulbs. This enhanced visibility improves safety on the road, ensuring that your Corvette stands out.
Another benefit is energy efficiency. LED lights consume significantly less power, reducing strain on your vehicle’s electrical system. This can lead to longer battery life and improved overall performance.
Durability is also a key factor. LEDs are built to withstand harsh conditions better than incandescent bulbs, making them more reliable in various weather situations.
Additionally, the aesthetic appeal of LED tail lights cannot be overlooked. They offer modern styling that complements the classic design of a 1992 Corvette while providing a sleek look that’s sure to impress fellow car enthusiasts.
Many drivers appreciate the quick response time of LEDs—turning on instantly when activated for increased reaction time during driving maneuvers.
Step-by-Step Guide for Installing LED Load Resistor Tail Lights on a 1992 Corvette
Start by gathering your tools. You’ll need a flathead screwdriver, wire strippers, electrical tape, and the LED load resistors.
Next, open the trunk of your 1992 Corvette to access the tail light assembly. Remove the screws holding it in place using your screwdriver. Gently pull out the assembly to expose the wiring harness.
Disconnect the old bulbs from their sockets. It’s time for an upgrade; replace them with your new LED bulbs.
Now comes the installation of load resistors. Connect one end of each resistor to positive wires and secure them with electrical tape.
Reassemble everything carefully, ensuring all connections are tight and secure. Test your new lights before finalizing any covers or panels to ensure proper functionality without flickering issues.
This step-by-step guide makes transitioning smooth while enhancing both safety and style on those evening drives!
Common Issues and Troubleshooting Tips for LED Load Resistor Tail Lights
LED load resistor tail lights can enhance your 1992 Corvette’s lighting, but they aren’t without issues. One common problem is flickering lights. This often occurs due to inadequate resistance in the system. Check that your resistors are correctly wired and functioning.
Another issue may involve hyper flashing or warning messages on the dashboard. This indicates a faulty connection or an incorrect resistor rating for your LED bulbs. Verify all connections and consider upgrading to higher wattage load resistors if needed.
Moisture build-up inside light housings can also lead to performance problems like dimming or complete failure of LEDs. Ensure that seals are intact and free from cracks.
Always monitor for overheating resistors, which can be dangerous. Position them away from heat-sensitive areas and provide proper airflow around components to mitigate risks effectively.
Tips for Maintenance and Care of LED Load Resistor Tail Lights
To keep your LED load resistor tail lights shining bright, regular maintenance is key. Start by inspecting the lights frequently for any signs of moisture or corrosion. This can help prevent electrical failures down the line.
Cleaning is essential too. Use a soft microfiber cloth to gently wipe away dirt and grime that may accumulate on the surface. Avoid harsh chemicals; they can damage the housing.
Check all connections periodically. Ensure that wiring remains secure and free from frays or damage. Loose wires can lead to flickering lights or complete failure.
Consider using silicone sealant around areas prone to water intrusion. This extra layer of protection helps maintain optimal performance during rainy seasons.
Be mindful of overheating issues. If you notice excessive heat when in use, it may indicate an underlying problem requiring immediate attention.
Conclusion: Is Upgrading to LED Load Resistor Tail Lights Worth It?
Upgrading 1992 Corvette Remover Tail Lights for LED Load Resistor offers several compelling advantages. Enhanced visibility and responsiveness can significantly improve safety on the road. The sleek, modern look of LED lights also adds a touch of sophistication to your classic vehicle.
While the installation process may require some attention and technical know-how, many DIY enthusiasts find it rewarding. With proper maintenance, these upgrades can last longer than traditional bulbs while consuming less energy.
However, it’s crucial to weigh the cost against potential benefits. For car aficionados who value performance and aesthetics, upgrading to 1992 Corvette Remover Tail Lights for LED Load Resistor is often seen as a worthwhile investment. Whether you decide to make this change will depend on your personal preferences and how much you cherish that iconic Corvette experience.
Check out the United States National Cricket Team vs Ireland Cricket Team Timeline here.