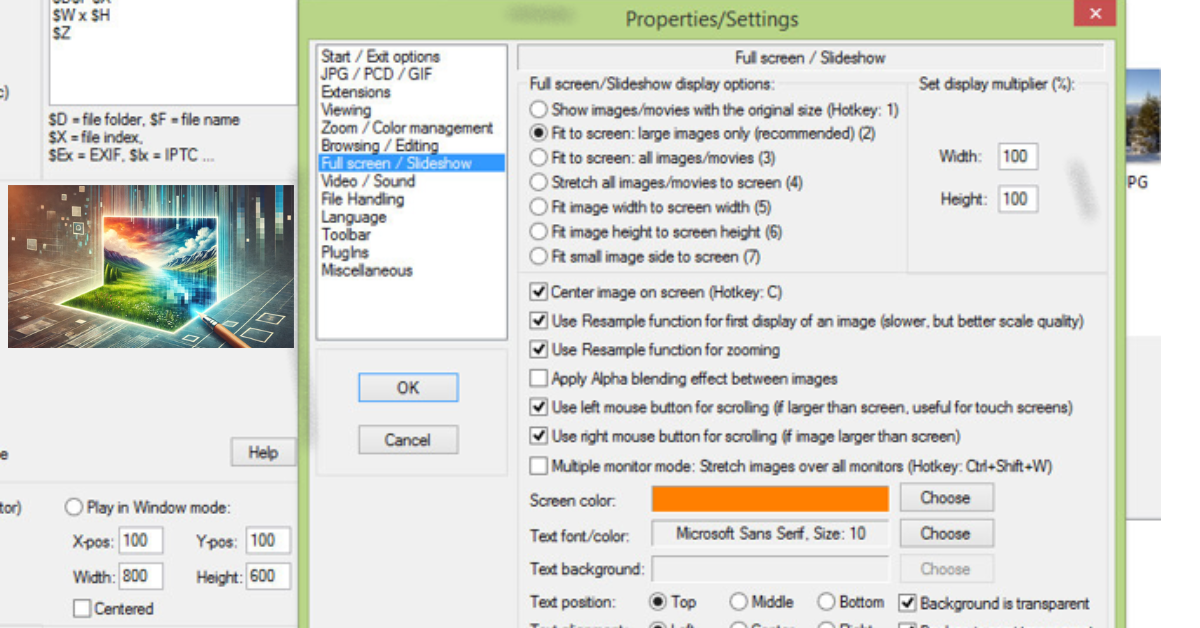
Introduction to IrfanView and bleedthrough
If you’ve ever scanned an old photo or document, you might have encountered a frustrating problem known as bleedthrough. This pesky issue occurs when ink from one side of the paper seeps through to the other side, marring your image with unwanted colors and distortions. Fortunately, if you’re using IrfanView—one of the most versatile and user-friendly image editing tools out there—you can easily remove this nuisance.
IrfanView offers a range of features that make it perfect for tackling these kinds of problems. With just a few tweaks to contrast, brightness, and some clever use of its built-in tools, you can restore your images to their original glory. Ready to dive into the world of digital restoration? Let’s explore how to effectively remove bleedthrough in IrfanView step by step!
Step 1: Identify the source of the bleedthrough
Before you dive into fixing bleedthrough in IrfanView, it’s essential to pinpoint where it’s coming from. Bleedthrough often occurs during scanning when the light passes through thin paper or when images are layered too closely.
Take a closer look at your scanned image. Are there specific areas that seem overly bright or discolored? These spots likely indicate where the bleedthrough is strongest.
Pay attention to the edges of text and images as well. If they appear fuzzy or washed out, this can also be a sign of unwanted interference from another side of the page.
Identifying these issues early will save time and improve your editing process later on. Once you’ve mapped out the problematic areas, you’re ready to tackle them with confidence!
Step 2: Adjust the Contrast and Brightness levels
Once you’ve identified the source of the bleedthrough, it’s time to enhance your image clarity. Begin by adjusting the contrast and brightness levels in IrfanView. This simple step can significantly impact how your image appears.
Open your image in IrfanView and navigate to the ‘Image’ menu. Select ‘Adjust Brightness/Contrast.’ Here, a slider will allow you to fine-tune these settings easily.
Increase the contrast slightly to make colors pop while reducing any unwanted shadows from bleedthrough. Then, tweak the brightness as needed—be careful not to overdo it; too much can wash out details.
Be sure to preview changes frequently. Adjusting these elements is often a matter of trial and error until you achieve that perfect balance for an improved visual effect without compromising original details.
Step 3: Use the Red Eye Removal tool for small spots
The Red Eye Removal tool in IrfanView isn’t just for correcting eyes. It’s also a handy feature for tackling those pesky small spots of bleedthrough.
Begin by zooming in on the areas affected. This will help you see precisely where adjustments are needed. Select the Red Eye Removal tool from the toolbar; it looks like a little eye icon.
Click on each spot that needs correction, and watch as IrfanView works its magic. The program automatically blends colors to erase blemishes without altering surrounding details.
For best results, apply this tool sparingly. Too much can make your image appear unnatural or rushed, which is not what we want at all!
Remember to save your progress frequently so you can compare changes easily and ensure you’re satisfied with each adjustment made along the way.
Step 4: Utilize the Clone Stamp tool for larger areas
The Clone Stamp tool is a powerful feature in IrfanView, ideal for tackling larger areas of bleedthrough. It allows you to replicate pixels from one part of the image and apply them over unwanted marks.
Begin by selecting the Clone Stamp tool from the toolbar. Next, hold down the ‘Ctrl’ key while clicking on a clean area near the bleedthrough. This action sets your source point.
Now, gently paint over the troublesome spots using your mouse. Adjusting brush size can help you navigate tricky textures with ease. Take your time; precision is key here.
Don’t hesitate to switch source points as needed to achieve seamless blending. Zooming in can provide greater control, ensuring that details remain intact during editing.
Experiment with different brush sizes and hardness levels until you’re satisfied with how it looks—this tool offers remarkable versatility for refining images effectively.
Step 5: Apply a Sharpen filter to enhance details
After addressing the bleedthrough, it’s time to sharpen your image. This step enhances details and adds clarity.
To apply a Sharpen filter in IrfanView, navigate to the “Image” menu. Select “Enhance Colors.” Here you’ll find various options, but focus on “Sharpen.”
Adjust the slider according to your needs. A slight increase often yields impressive results without introducing unwanted noise.
Always preview your changes. Zoom in on important areas of the image to see how sharpening affects fine details. Too much sharpness can create an unnatural look, so moderation is key.
This process not only improves visibility but also makes colors pop and edges crisp. It breathes new life into images that might otherwise feel flat or dull after processing.
Conclusion and additional tips for preventing bleedthrough in future scans
Following these steps can make a significant difference remove bleedthrough in IrfanView. Being diligent about the source of your images will save you time later on. Always scan under proper lighting and ensure that pages are clean before digitizing.
For future scans, consider using high-quality scanner settings. This minimizes the chance of bleedthrough from the outset. If possible, use a flatbed scanner instead of a feeder to reduce pressure on thin pages which often leads to bleedthrough.
Additionally, keeping your documents free from stains or debris can prevent unwanted marks in your final images. With these practices in place combined with effective editing techniques like those mentioned above, you’ll enhance your digital assets while avoiding common pitfalls associated with image scanning.
Remember that mastering IrfanView takes practice; don’t hesitate to experiment with different tools until you find what works best for you!
Discover Elaine Okamura’s inspiring career in this in-depth article.
